how to draw a 3d car step by step
Cars have always been 1 of the kids' best favorite toys. It has too long been the subject of many blithe movies and series, amid the most notable ones are Cars, Speed Racer, and Hot Wheels.
What if you can create your very ain unique dream car?
With this step-by-step tutorial on how to draw a car, y'all tin make your dreams come true! Take this as an opportunity to customize a machine and visualize your imaginary automobile onto newspaper.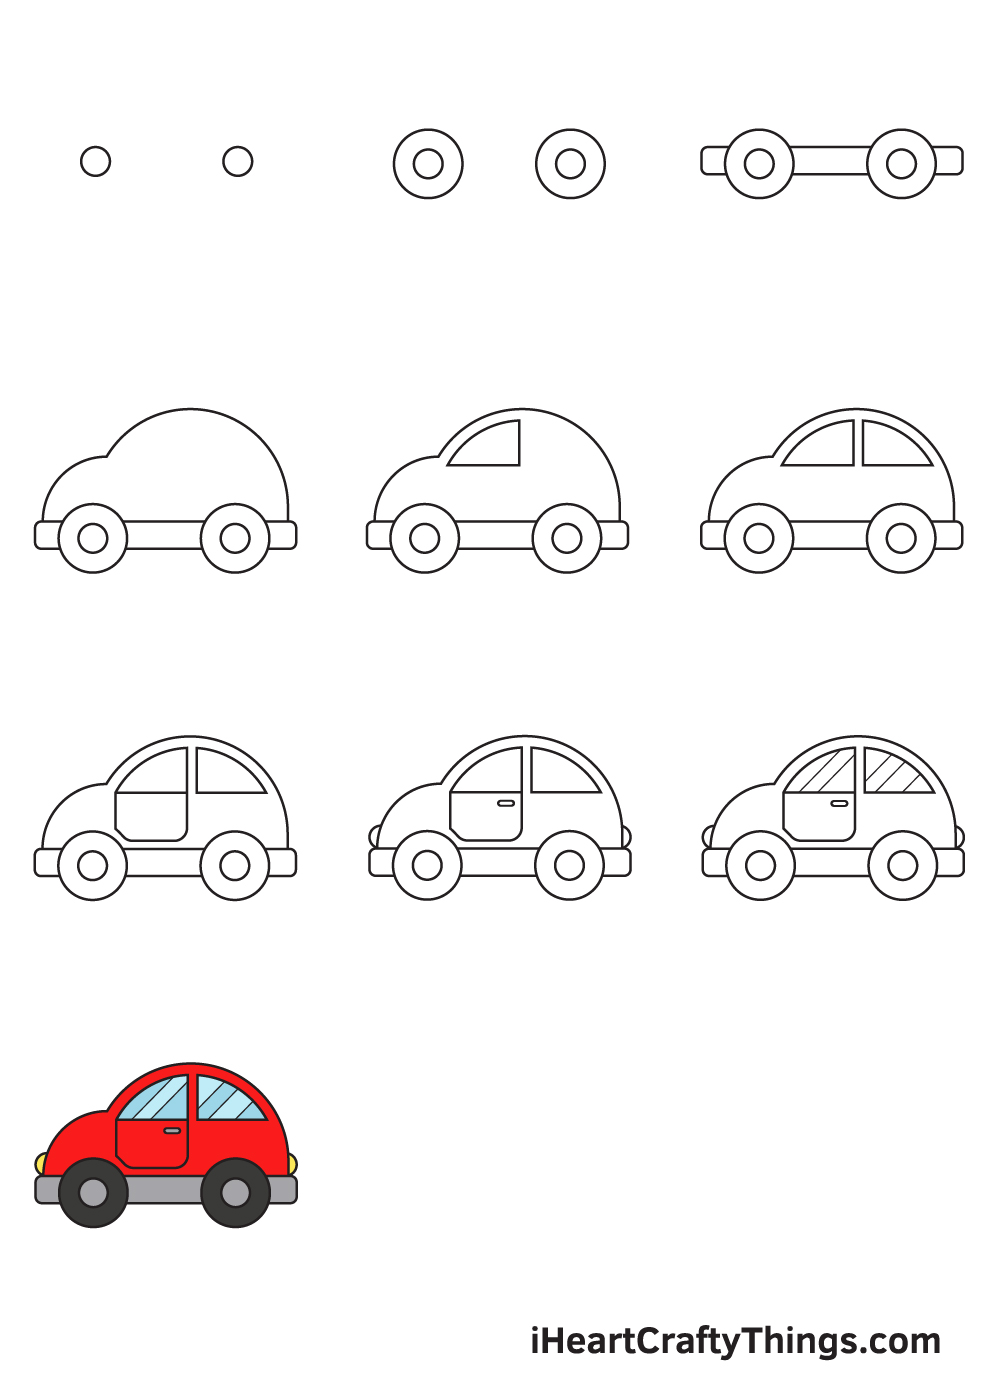
This will surely be an enjoyable activity for anyone who loves cars.
If you lot have a kid who is passionate about cars, then drawing a car is definitely the perfect activity to continue your kids entertained and creative at the same time.
Have fun bringing your dream machine to life!
What's in this Blog Post
- How to Describe a Car — Allow's get started!
- Stride 1
- Step two — Depict the Wheels of the Car
- Step 3 — Attach the Bumpers to the Wheels
- Footstep 4 — Outline the Torso of the Car
- Step five — Draw the Front end Door Window
- Step 6 — Side by side, Draw the Rear Door Window
- Step 7 — And then, Outline the Front end Door
- Step viii — Draw the Lights and the Door Handle
- Stride 9 — Add Patterns on the Car Windows
- Your Car Drawing is Complete!
How to Draw a Car — Let's go started!
Step ane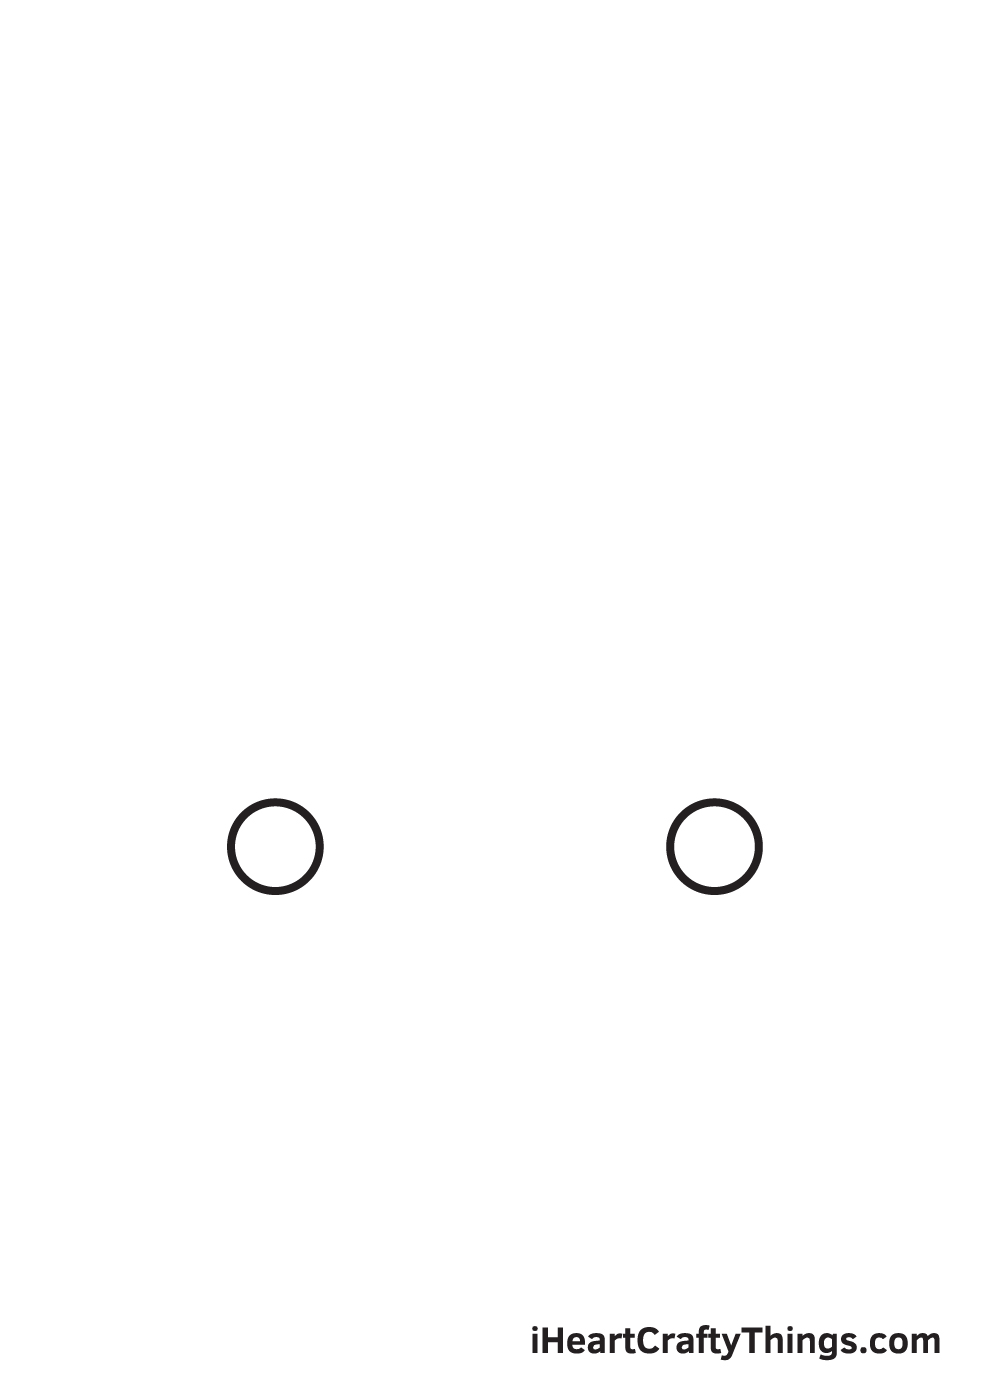
Draw two small-scale circles on the lower portion of your newspaper. This will be the inner outline of your automobile wheels.
Don't worry if you can freehand a perfect circumvolve shape! You tin always use a compass, a drawing tool that helps yous describe a flawless circle speedily and easily.
Step two — Describe the Wheels of the Car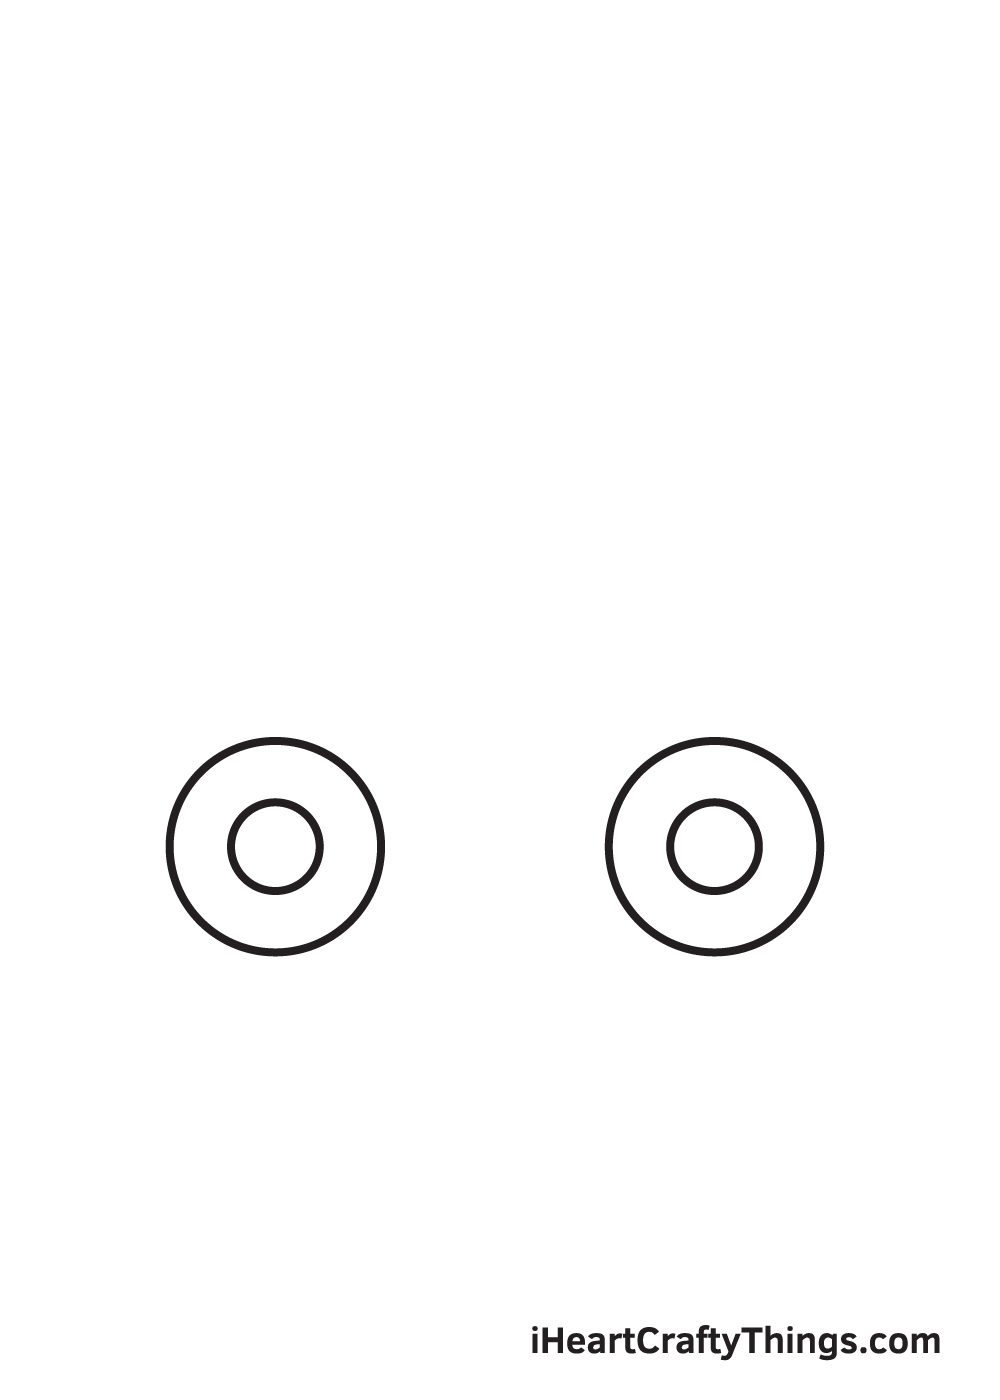
Describe another two circles surrounding the small circles we drew in the previous footstep.
Once you lot've finished drawing the circle shapes, it should expect similar a pair of wheels, as shown in the analogy. The wheels should too be virtually an inch apart.
Stride 3 — Attach the Bumpers to the Wheels
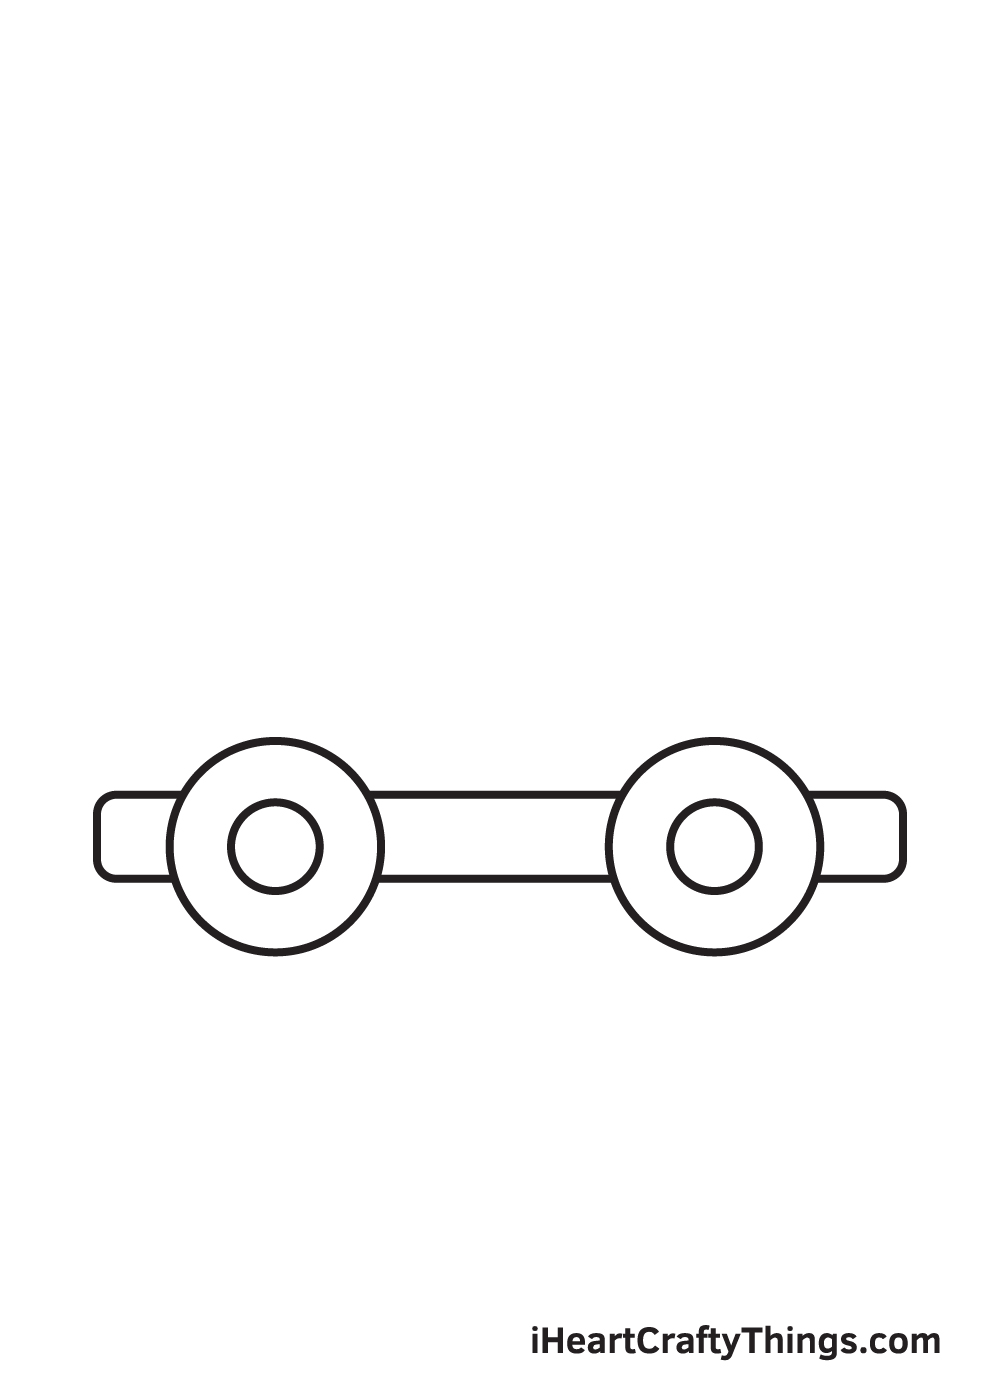
Draw a long, narrow rectangular shape connecting both wheels. The bumper will serve every bit the foundation of the car and then make sure to get in every bit long as you desire your auto to be.
Step four — Outline the Trunk of the Car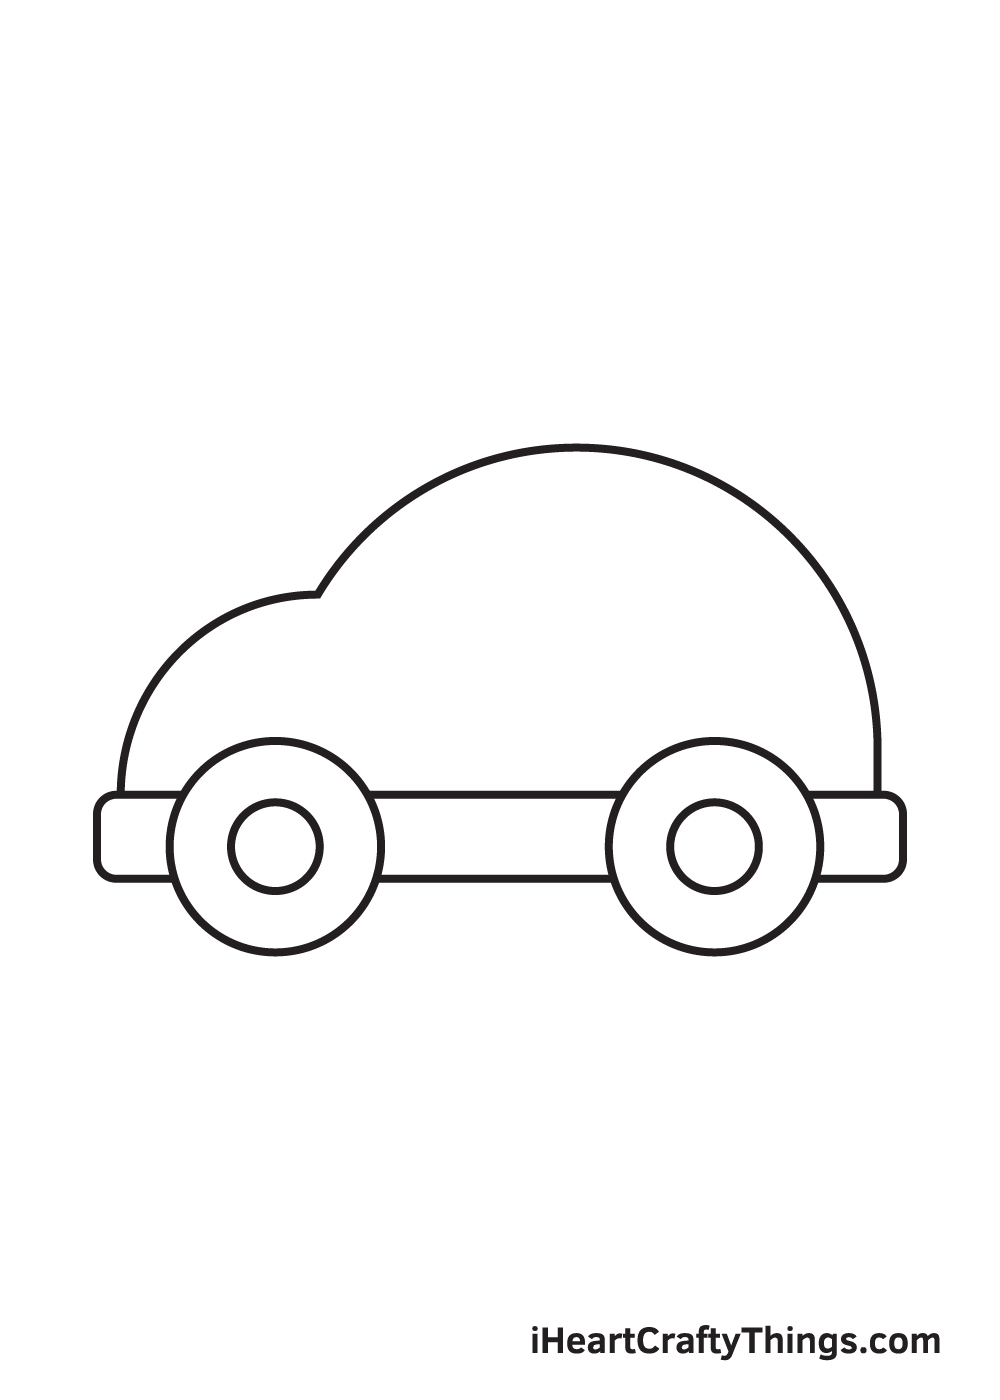
Correct above the bumper, structure the outline of the car'south trunk by drawing downward curved lines extending all the fashion to the other terminate of the bumper.
The outline consists of ii downwardly curved lines: one pocket-size curved line for the hood connected to a relatively bigger curved line to grade the roof of the car,
Step 5 — Draw the Front Door Window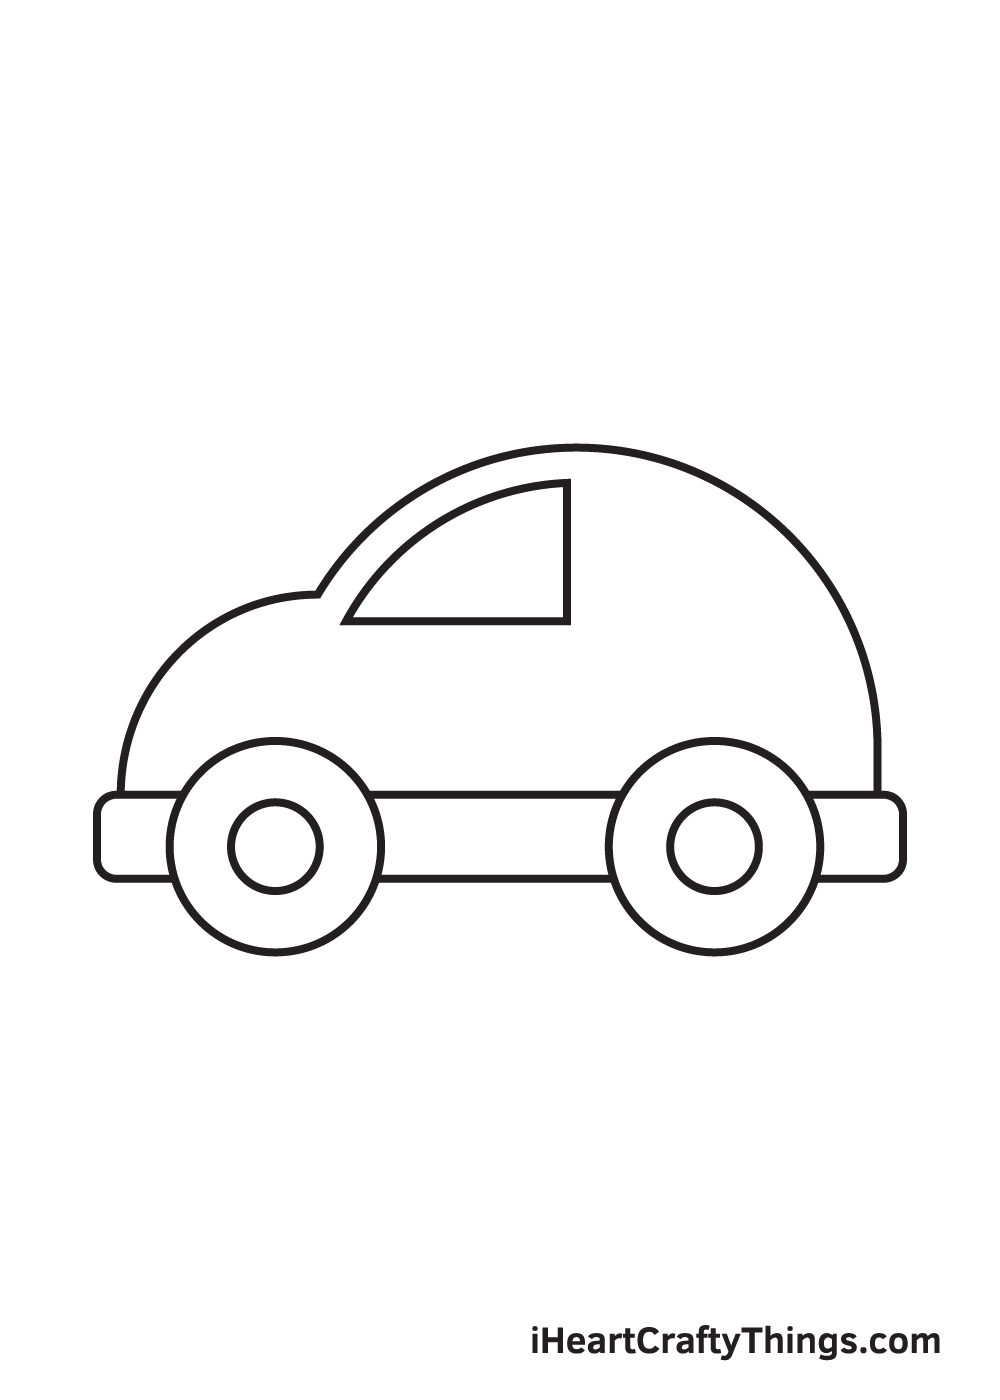
On the left side of the roof, draw a curved line following the outline of the roof. And so, connect both ends of the curved line with a left-facing 90-degree angle line.
Step vi — Next, Draw the Rear Door Window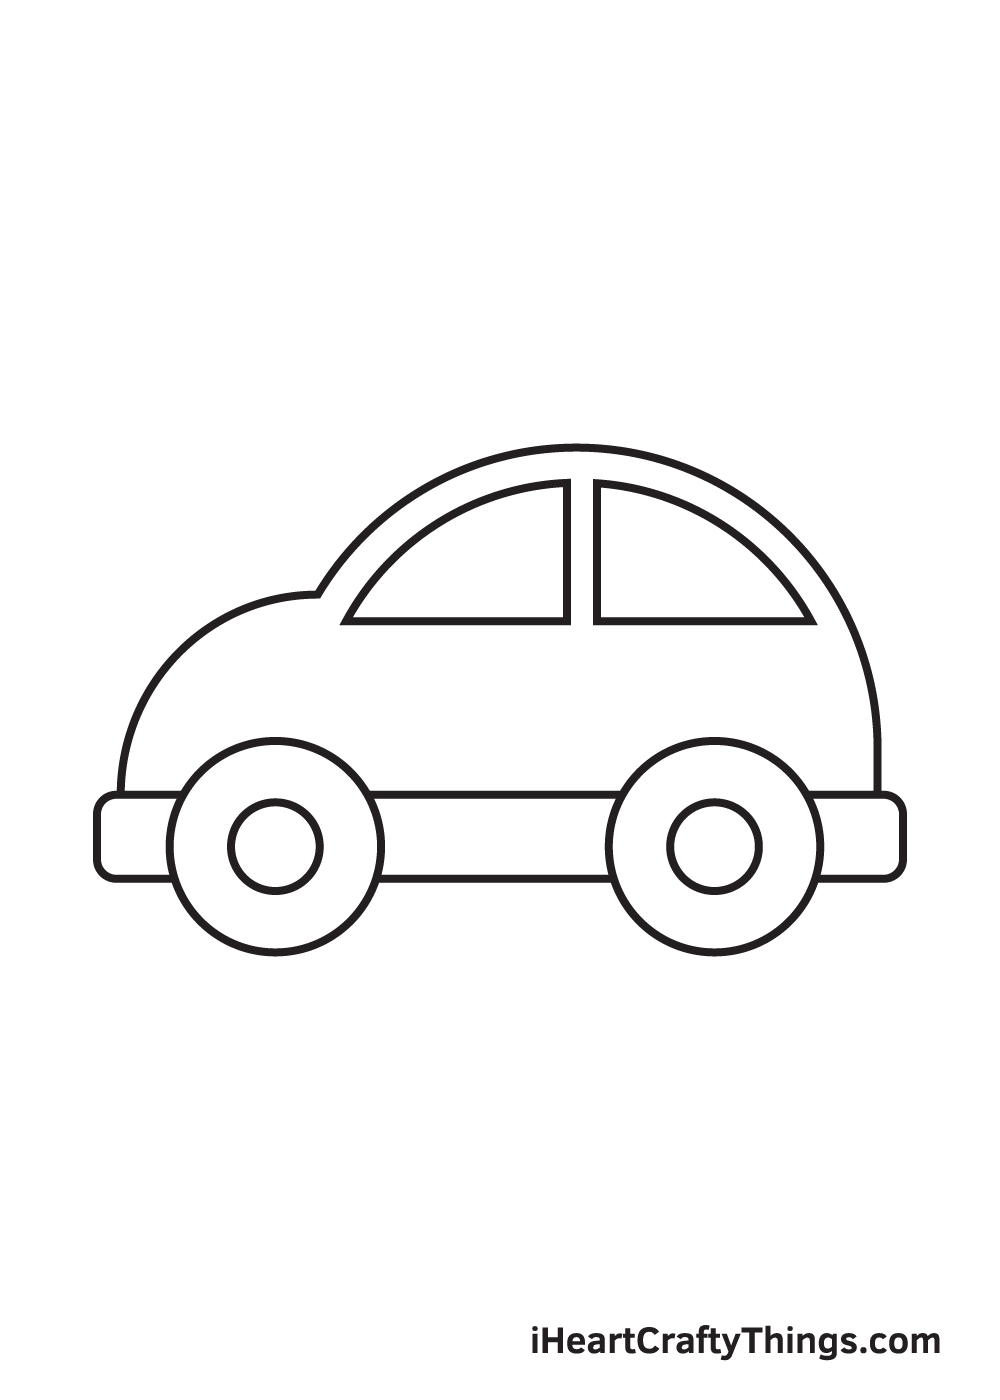
Repeat the previous footstep on the other side of the automobile to create two fifty-fifty and proportion motorcar windows. The front window must be slightly bigger than the rear window.
Step seven — And so, Outline the Front Door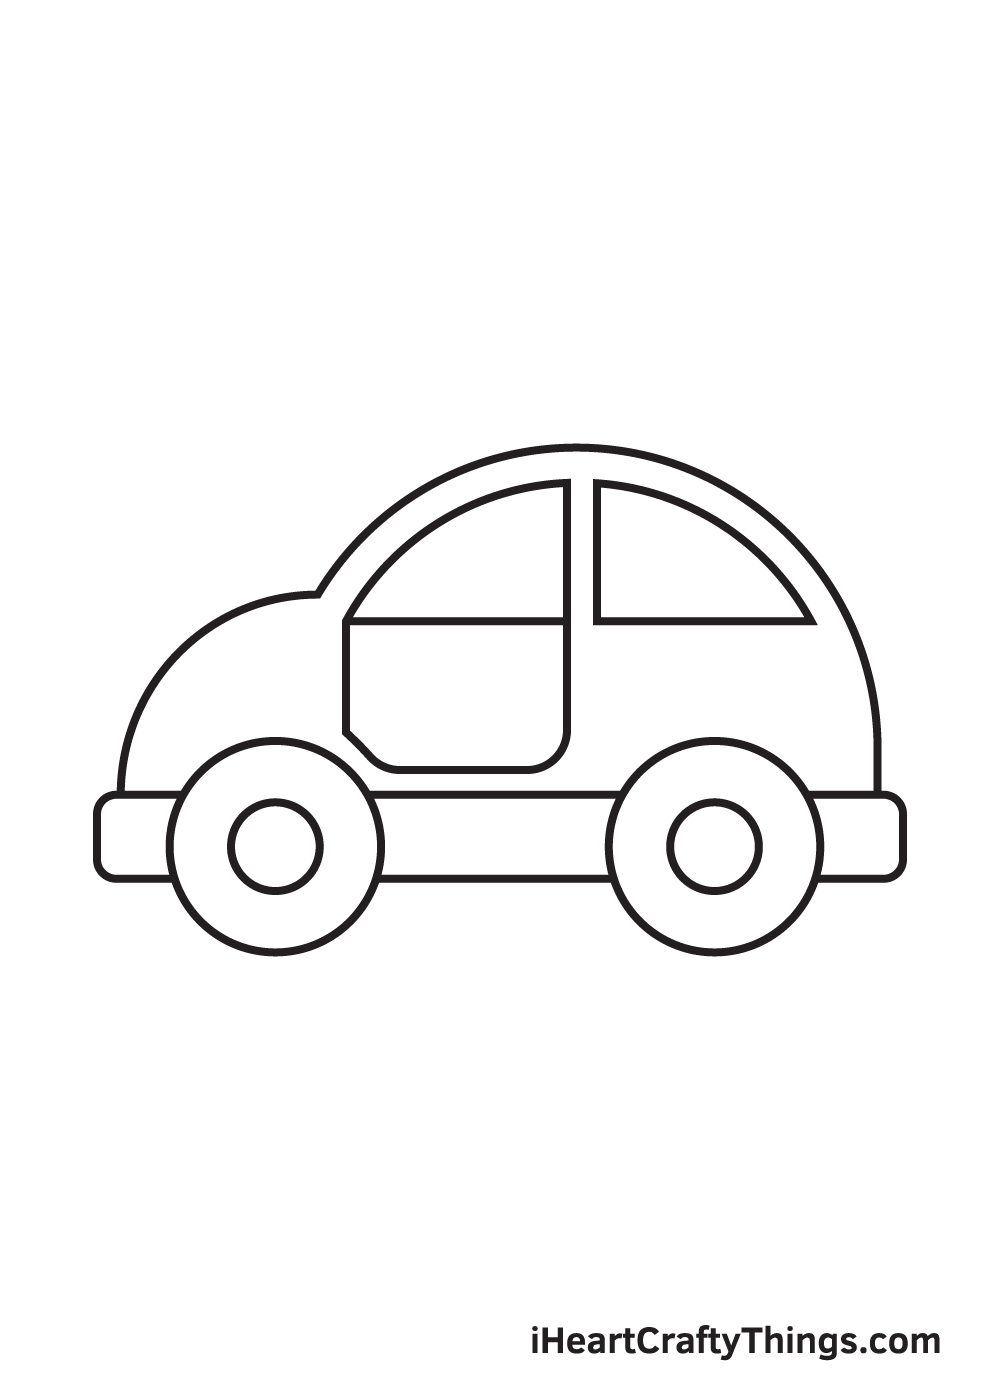
Create the front door past drawing a square shape with curved corners right underneath the forepart window. Go on in mind that the front window and the front end door should be aligned and even.
Stride 8 — Draw the Lights and the Door Handle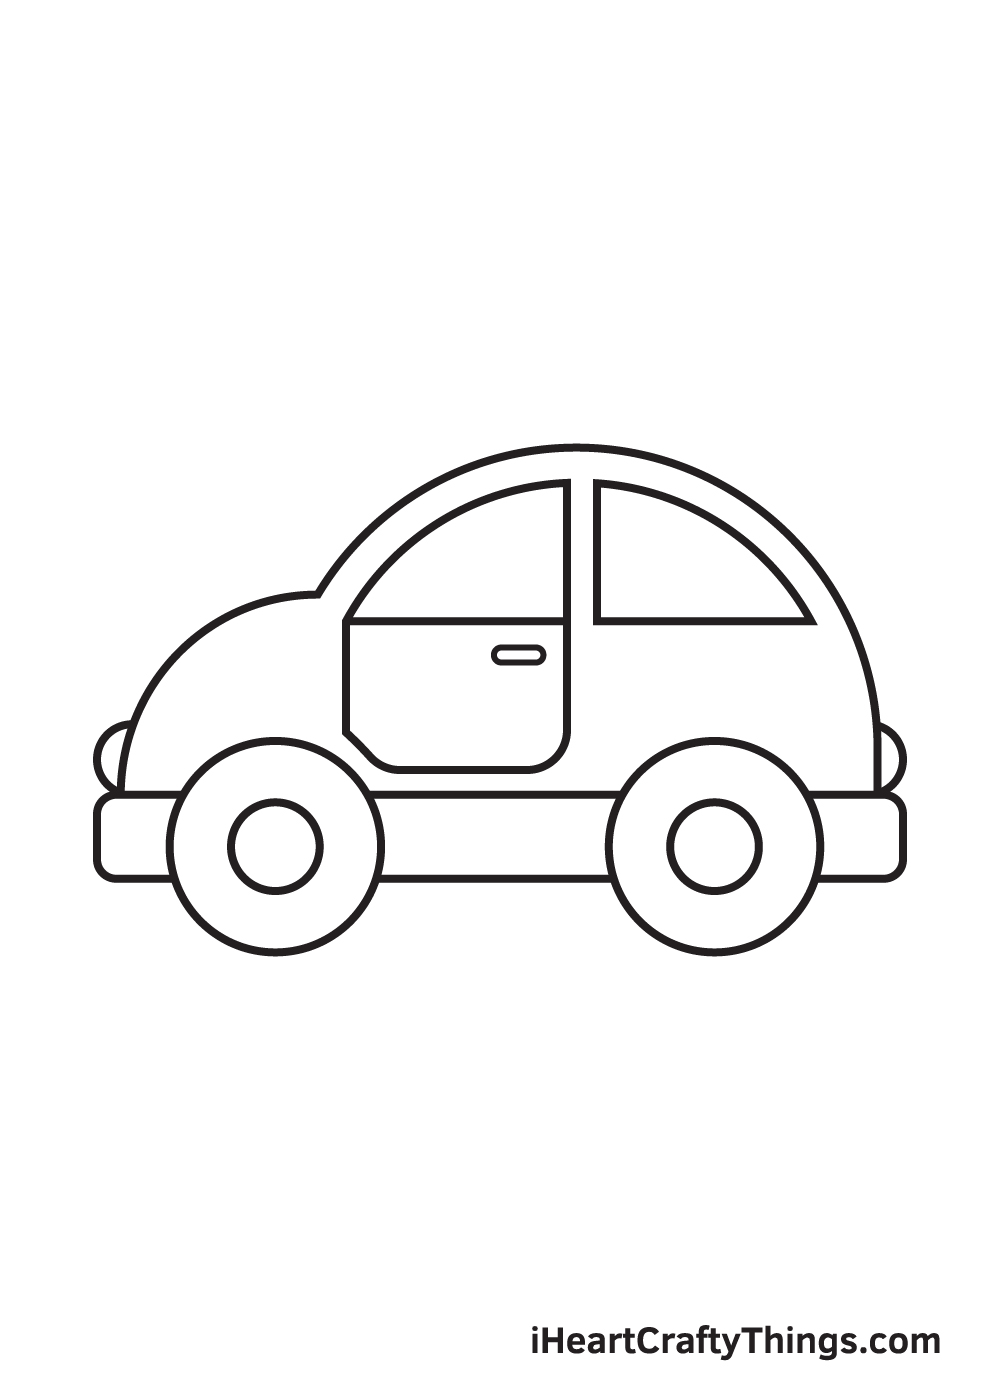
At present, information technology's time to add details on the car to go far appear more realistic.
Commencement by drawing half circle shapes on both ends of the motorcar to create the headlight and taillight. The lights should exist located only right above the bumper of the car.
Step ix — Add Patterns on the Auto Windows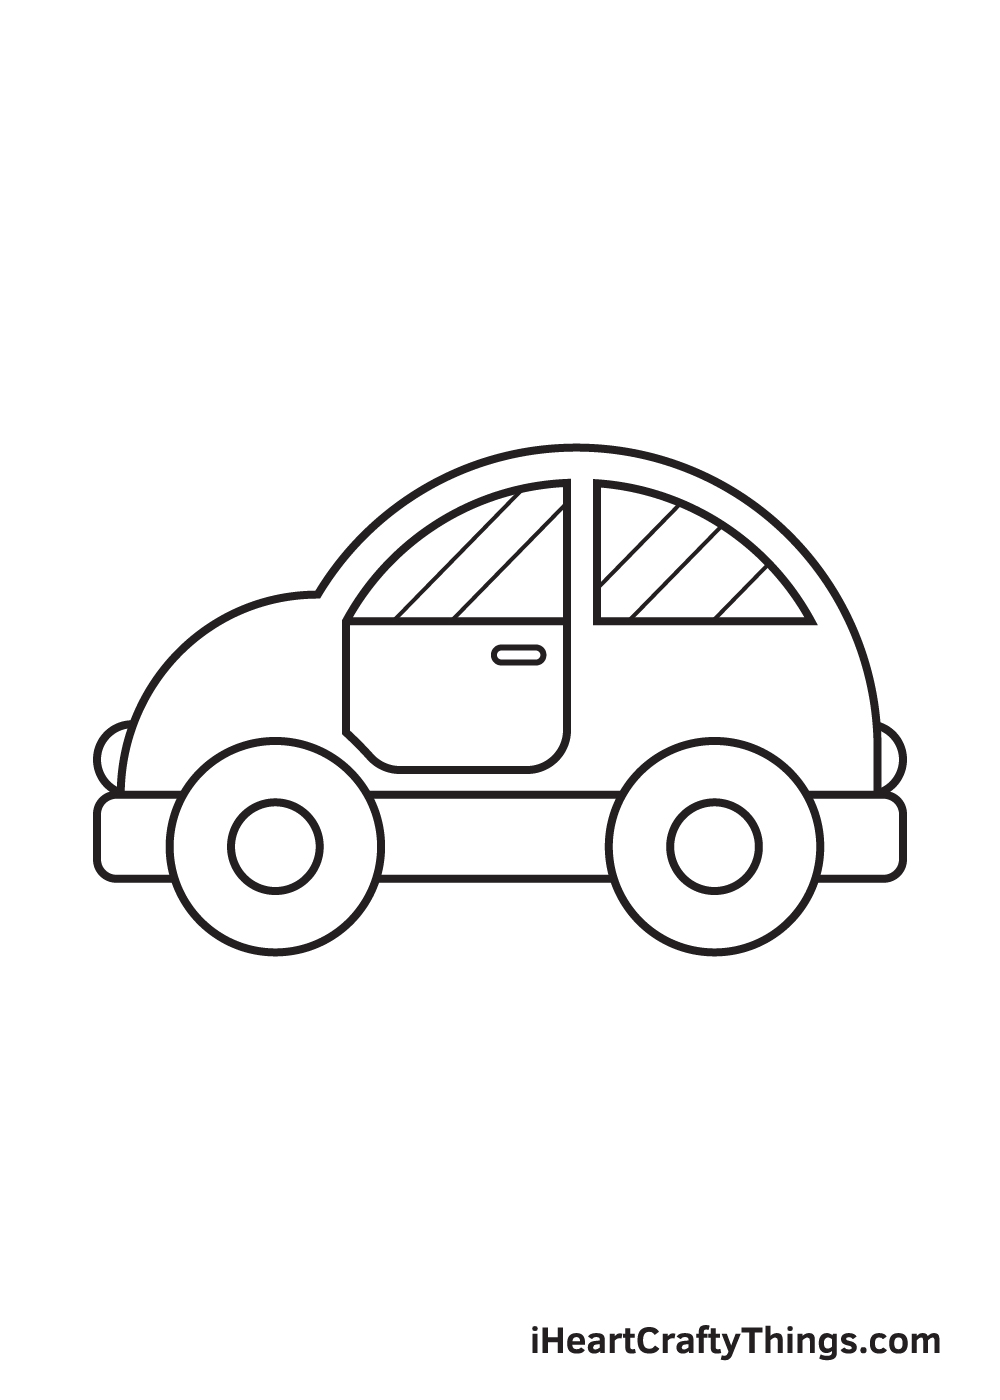
Automobile windows are typically reflective, thus resulting in visible diagonal patterns. Depict multiple parallel diagonal lines on each car window to create the illusion of a "reflection".
Now that y'all take successfully fatigued a motorcar, it's time to the most heady office—coloring your crawly automobile drawing! Go ahead and pick the colors to make your motorcar vibrant and colorful!
Cars come in a wide range of designs and exist in every color. Then, if you lot take a favorite color, there's most probably a car with that color.
This gives yous a lot of color options to cull from when coloring your car.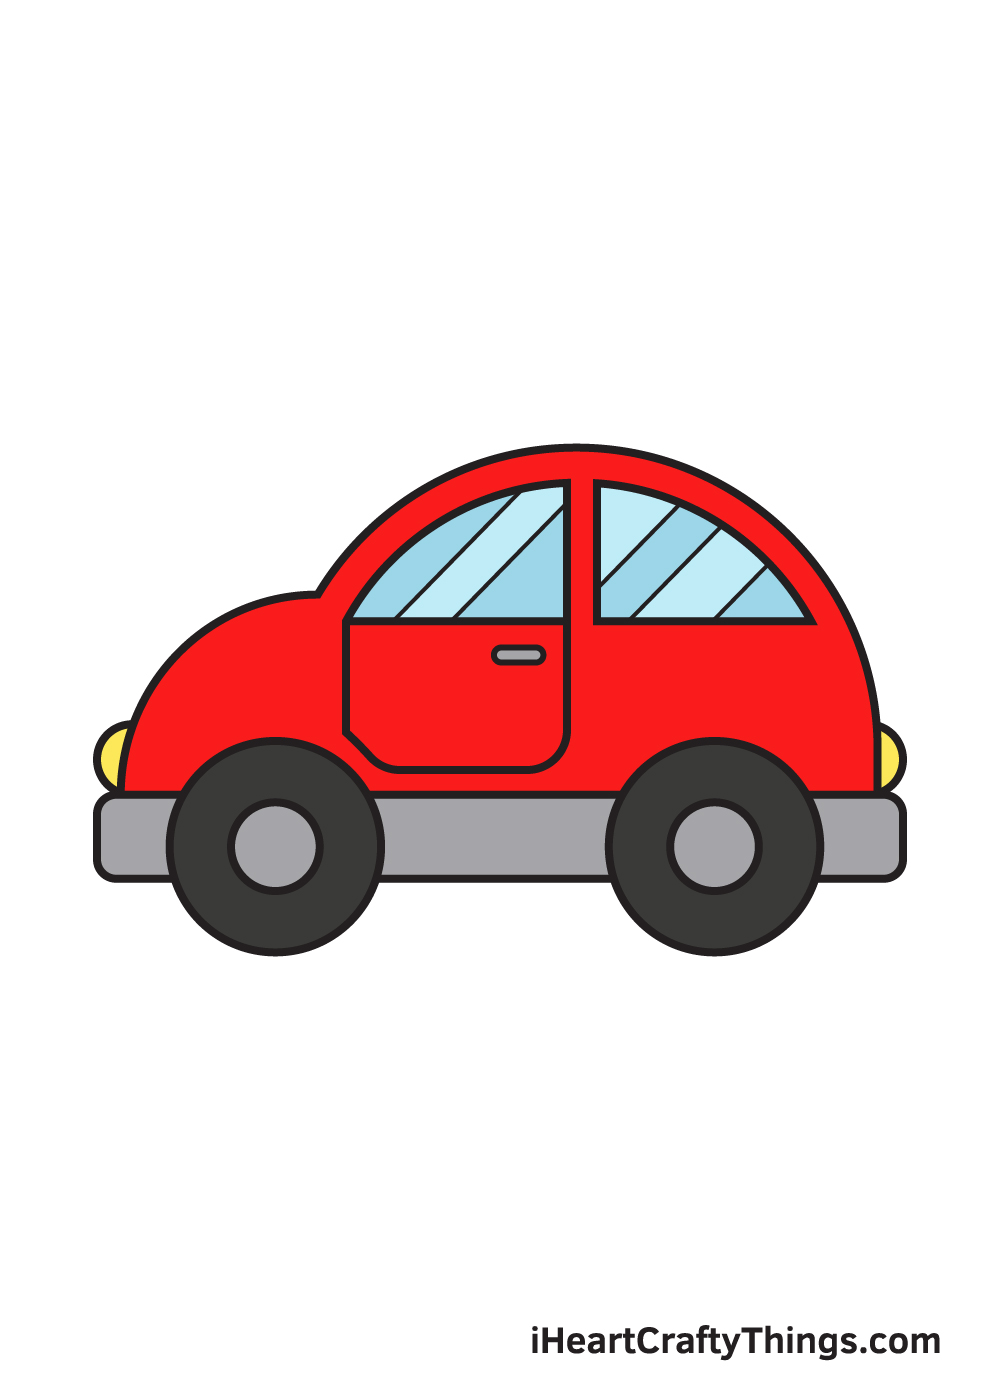
Your Car Drawing is Complete!
Hopefully, you or your kids had a lot of fun learning how to depict a car with this step-by-step tutorial.
This is a keen and enjoyable style to hone your artistic skills and bring your dream car to life at the same time!
Recall, we are always uploading brand-new drawing tutorials to update our catalog regularly. So, make sure you keep checking back to continuously acquire how to draw something new.
We are looking forward to seeing what you will be drawing next!
In one case you've finished drawing and coloring a car, don't forget to show off your masterpiece!
Share your artwork on our Facebook page, on Pinterest, and on other social media channels. Be proud of your work of fine art and let the globe appreciate your talent.
We are so excited to see what your dream car looks like!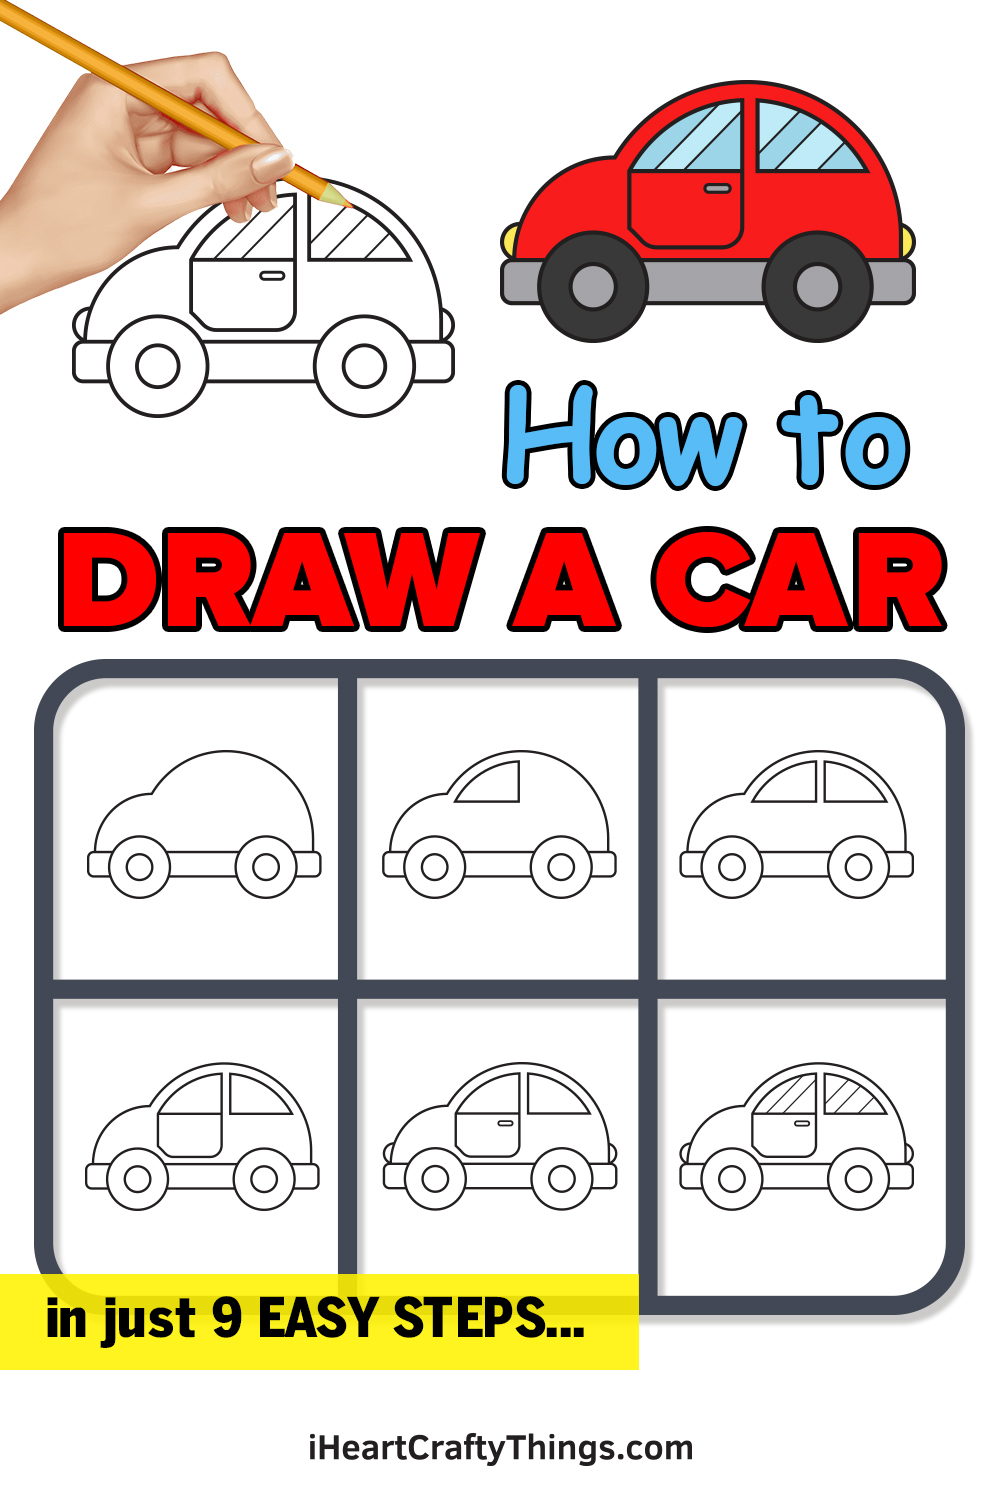
Source: https://iheartcraftythings.com/car-drawing.html
0 Response to "how to draw a 3d car step by step"
Enregistrer un commentaire